
Getting started
In this tutorial, we will get you started with using the Canonical Chaos Engineering platform. You will learn how to deploy the platform using Terraform and Juju, create a Chaos infrastructure and conduct a simple Chaos Experiment simulating POD deletion to check if the System Under Test can recover from such fault.
To complete this tutorial, you will need a machine which meets the following requirements:
8GB of RAM
50GB of free disk space
An Ubuntu (or another operating system which supports snapd) environment to run the commands
Note
All the code blocks in this tutorial should be executed from a Linux shell.
1. Install Canonical K8s
Install Canonical K8s and bootstrap it:
sudo snap install k8s --classic --channel=1.33-classic/stable
cat << EOF | sudo k8s bootstrap --file -
containerd-base-dir: /opt/containerd
disable-rbac: true
cluster-config:
  network:
    enabled: true
  dns:
    enabled: true
  local-storage:
    enabled: true
EOF
2. Bootstrap a Juju controller
Install Juju:
sudo snap install juju --channel=3.6/stable
Save the K8s credentials, we will need them later to bootstrap the Juju controller.
mkdir -p ~/.kube
sudo k8s config > ~/.kube/config
mkdir -p ~/.local/share/juju/
sudo k8s config > ~/.local/share/juju/credentials.yaml
Bootstrap a Juju controller
juju bootstrap k8s
3. Install Terraform
Install Terraform:
sudo snap install terraform --classic
4. Deploy the Canonical Chaos Engineering platform
On the host machine create a new directory called terraform:
mkdir terraform
Inside the newly created terraform directory create a versions.tf file:
cd terraform
cat << EOF > versions.tf
terraform {
  required_providers {
    juju = {
      source  = "juju/juju"
      version = ">= 0.14.0"
    }
  }
}
EOF
Create a new Terraform module for the Charmed Litmus Control Plane:
cat << EOF > control-plane.tf
resource "juju_model" "charmed-chaos" {
  name = "charmed-chaos"
}

module "charmed-litmus" {
  source = "git::https://github.com/canonical/litmus-operators//terraform"

  model_uuid = juju_model.charmed-chaos.uuid
  depends_on = [juju_model.charmed-chaos]

  litmus_channel = "dev/edge"
  admin_password = var.admin_password
  charm_password = var.charm_password
}
EOF
Create a variables.tf file:
cat << EOF > variables.tf
variable "admin_password" {
  description = "The password to set for the Litmus admin user."
  type        = string
  sensitive   = true
}

variable "charm_password" {
  description = "The password to set for the Litmus charm bot user."
  type        = string
  sensitive   = true
}
EOF
Note
You can get a ready example by cloning this Git repository.
All necessary files are in the examples/terraform/getting_started directory.
Initialize the Juju Terraform provider:
terraform init
Apply your Terraform configuration:
terraform apply -auto-approve
Note
Terraform will prompt you for two passwords - for the admin user and for the charm user.
For this tutorial use Litmus123! and Charm123! respectively.
The deployment process should take approximately 5-10 minutes.
Monitor the status of the deployment:
juju switch charmed-chaos
juju status --relations --watch 1s
The deployment is ready when all the charms are in the active/idle state.
Example:
ubuntu@host:~/terraform $ juju status --relations
Model              Controller                  Cloud/Region                Version  SLA          Timestamp
charmed-chaos      k8s                         k8s                         3.6.14   unsupported  12:25:15+02:00

App                 Version  Status  Scale  Charm                   Channel   Rev  Address         Exposed  Message
litmus-auth         3.26.0   active      1  litmus-auth-k8s         dev/edge   16  10.152.183.56   no
litmus-backend      3.26.0   active      1  litmus-backend-k8s      dev/edge   17  10.152.183.61   no
litmus-chaoscenter  3.26.0   active      1  litmus-chaoscenter-k8s  dev/edge   32  10.152.183.151  no       Ready at http://litmus-chaoscenter.charmed-chaos.svc.cluster.local:8185.
mongodb-k8s         6.0.24   active      3  mongodb-k8s             6/stable  117  10.152.183.50   no

Unit                   Workload  Agent  Address     Ports  Message
litmus-auth/0*         active    idle   10.1.0.59
litmus-backend/0*      active    idle   10.1.0.100
litmus-chaoscenter/0*  active    idle   10.1.0.114         Ready at http://litmus-chaoscenter.charmed-chaos.svc.cluster.local:8185.
mongodb-k8s/0          active    idle   10.1.0.133
mongodb-k8s/1          active    idle   10.1.0.237
mongodb-k8s/2*         active    idle   10.1.0.35          Primary.

Integration provider           Requirer                             Interface                Type     Message
litmus-auth:http-api           litmus-chaoscenter:auth-http-api     litmus_auth_http_api     regular
litmus-auth:litmus-auth        litmus-backend:litmus-auth           litmus_auth              regular
litmus-backend:http-api        litmus-chaoscenter:backend-http-api  litmus_backend_http_api  regular
mongodb-k8s:database           litmus-auth:database                 mongodb_client           regular
mongodb-k8s:database           litmus-backend:database              mongodb_client           regular
mongodb-k8s:database-peers     mongodb-k8s:database-peers           mongodb-peers            peer
mongodb-k8s:ldap-peers         mongodb-k8s:ldap-peers               ldap-peers               peer
mongodb-k8s:status-peers       mongodb-k8s:status-peers             status-peers             peer
mongodb-k8s:upgrade-version-a  mongodb-k8s:upgrade-version-a        upgrade                  peer
5. Deploy System Under Test (SUT)
In this tutorial we will use the [self-signed-certificates] charm as a SUT (System-Under-Test).
Create a new Terraform module for the SUT:
cat << EOF > sut.tf
resource "juju_model" "self-signed-certs-test" {
  name = "self-signed-certs-test"
}

module "self-signed-certificates" {
  source = "git::https://github.com/canonical/self-signed-certificates-operator//terraform"

  model_uuid = juju_model.self-signed-certs-test.uuid
  depends_on = [juju_model.self-signed-certs-test]
}

module "litmus-infrastructure" {
  source = "git::https://github.com/canonical/litmus-operators//infrastructure/terraform"

  channel = "dev/edge"

  model_uuid = juju_model.self-signed-certs-test.uuid
  depends_on = [juju_model.self-signed-certs-test]
}

resource "juju_offer" "litmus-infrastructure-offer" {
  model_uuid       = juju_model.self-signed-certs-test.uuid
  application_name = module.litmus-infrastructure.app_name
  endpoints = [module.litmus-infrastructure.endpoints.litmus-infrastructure]
}
EOF
Connect Litmus infrastructure to the Litmus Control Plane:
cat << EOF >> control_plane.tf
resource "juju_integration" "litmus-infrastructure" {
  model_uuid = juju_model.charmed-chaos.uuid

  application {
    name     = module.charmed-litmus.chaoscenter_app_name
    endpoint = module.litmus-infrastructure.endpoints.litmus-infrastructure
  }

  application {
    offer_url = juju_offer.litmus-infrastructure-offer.url
  }
}

EOF
Fetch new modules:
terraform init
Apply new configuration:
terraform apply -auto-approve
You can monitor the status of the deployment by running:
juju switch self-signed-certs-test
juju status --relations --watch 1s
Successful deployment of the SUT should look similar to below:
ubuntu@host:~/terraform $ juju status
Model                   Controller  Cloud/Region  Version  SLA          Timestamp
self-signed-certs-test  k8s         k8s           3.6.14   unsupported  15:07:10+01:00

App                       Version  Status  Scale  Charm                      Channel   Rev  Address         Exposed  Message
litmus-infrastructure              active      1  litmus-infrastructure-k8s  dev/edge    7  10.152.183.49   no
self-signed-certificates           active      1  self-signed-certificates   1/stable  586  10.152.183.244  no

Unit                         Workload  Agent  Address     Ports  Message
litmus-infrastructure/0*     active    idle   10.1.0.30
self-signed-certificates/0*  active    idle   10.1.0.189

Offer                  Application               Charm                      Rev  Connected  Endpoint               Interface              Role
certificates           self-signed-certificates  self-signed-certificates   586  0/0        certificates           tls-certificates       provider
litmus-infrastructure  litmus-infrastructure     litmus-infrastructure-k8s  7    1/1        litmus-infrastructure  litmus-infrastructure  provider
send-ca-cert           self-signed-certificates  self-signed-certificates   586  0/0        send-ca-cert           certificate_transfer   provider
6. Run a Chaos experiment
Log in to the Litmus ChaosCenter
Retrieve the litmus-chaoscenter/0 unit IP address from the juju status output. In the example above, this is 10.1.0.114; yours will likely differ.
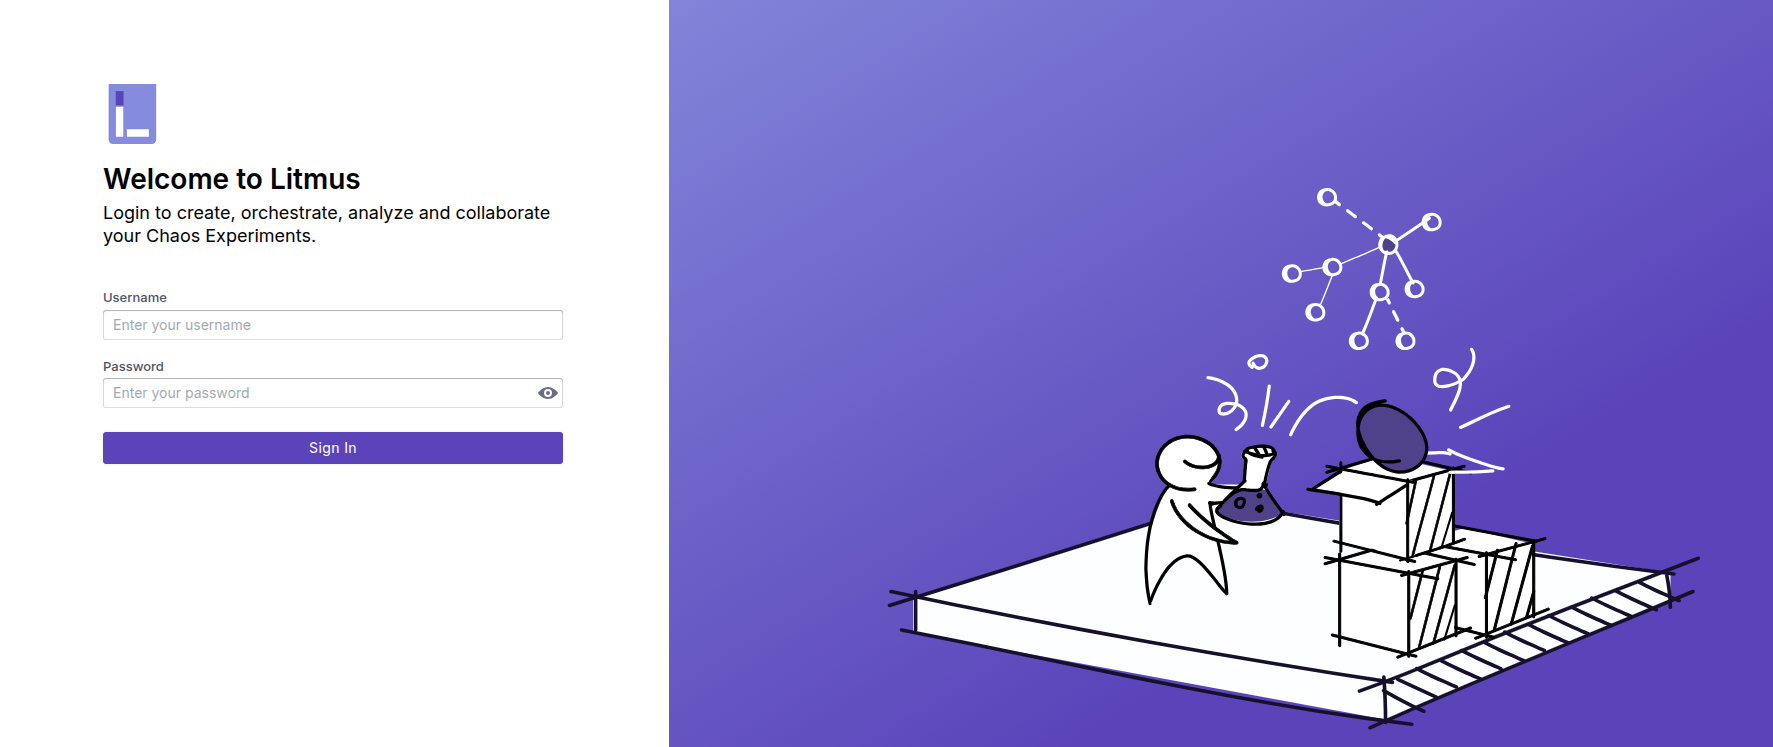
In your browser navigate to http://{CHAOSCENTER_IP}:8185. You should see the Litmus login page:
Log in to the Litmus ChaosCenter as user charm using the password set during the deployment (in this tutorial it is Charm123!).
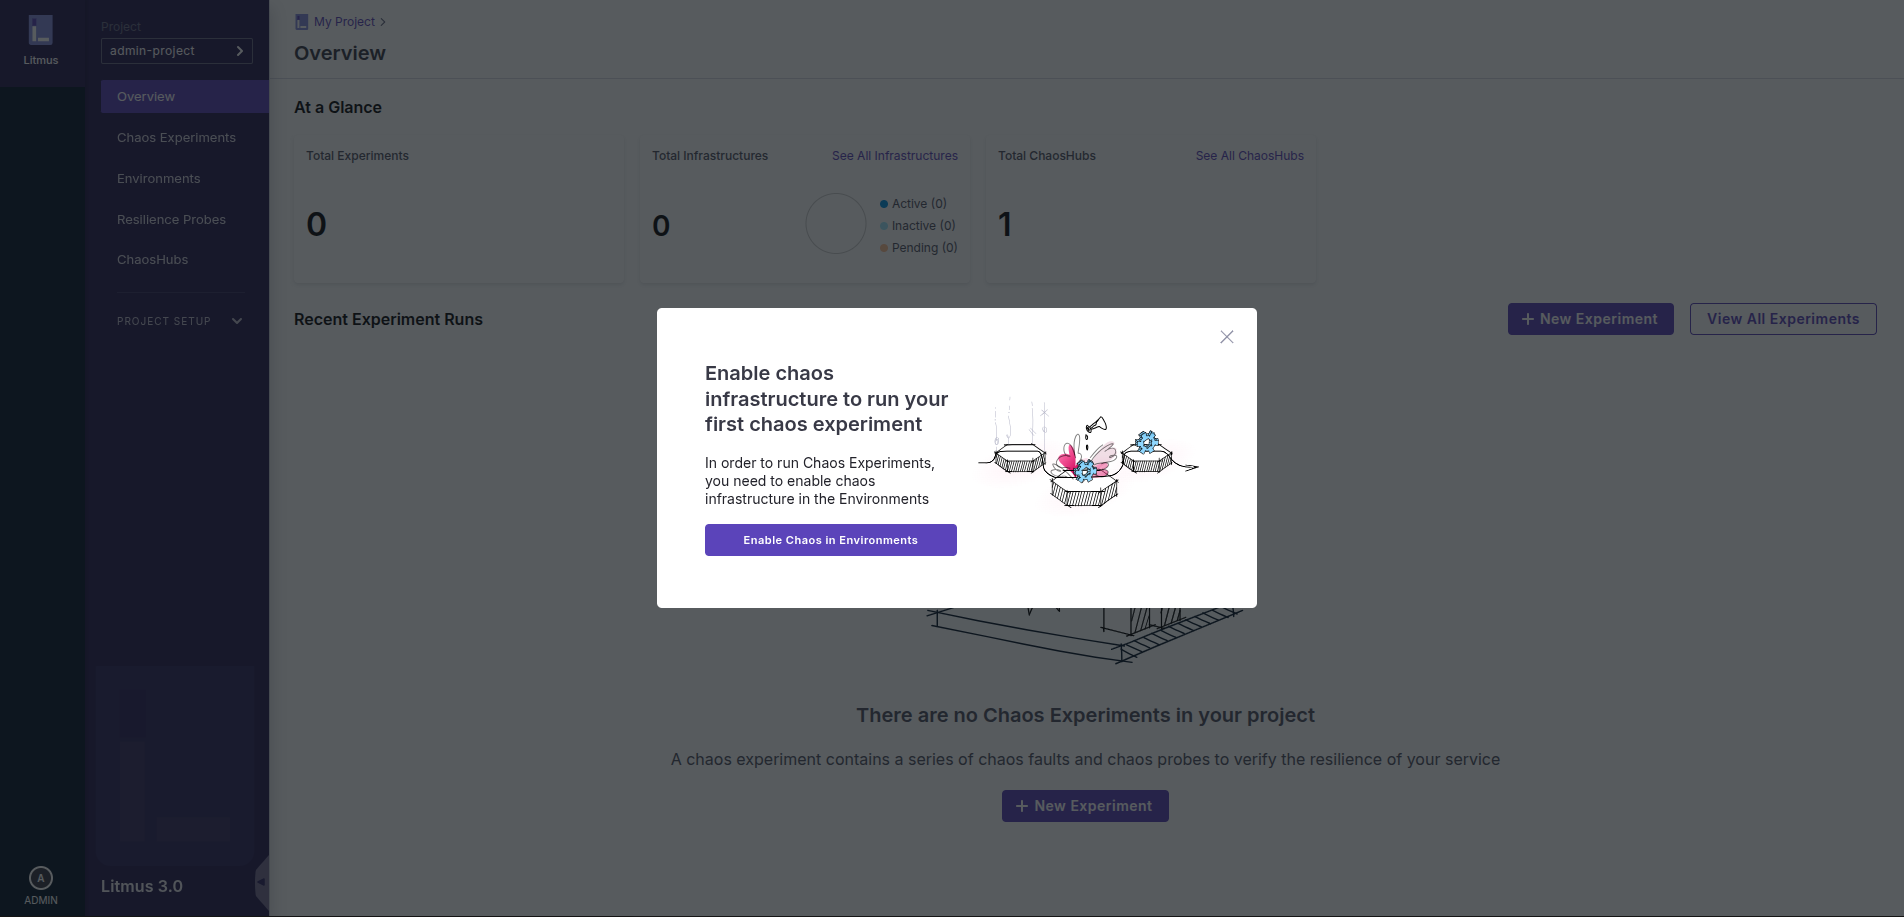
After you successfully logged in, you should see the Litmus admin panel:
Note
Due to a bug in Litmus (https://github.com/litmuschaos/litmus/issues/5224) it is strongly recommended to log out immediately after the first login and log in again.
Define a Resilience Probe
In the Litmus ChaosCenter navigate to the Resilience Probes menu and click the + New Probe button.
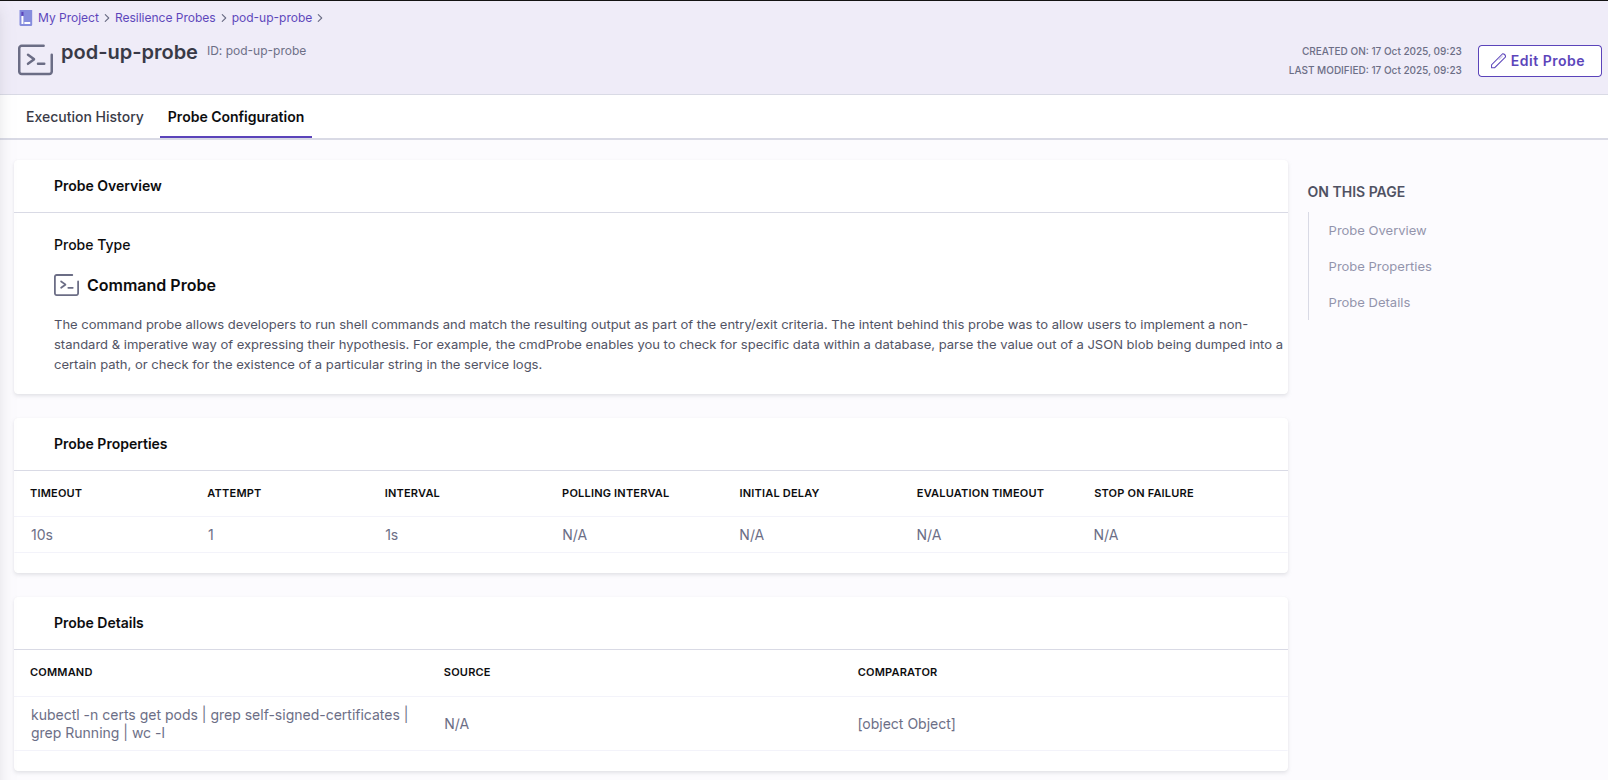
Select the probe of type Command and configure it using the values below:
Name:
pod-up-probeTimeout:
10sInterval:
1sAttempt:
1Command:
kubectl -n self-signed-certs-test get pods | grep self-signed-certificates | grep Running | wc -lType:
intComparison Criteria:
>Value:
0
A correctly configured probe should look like so:
Create a Chaos Experiment
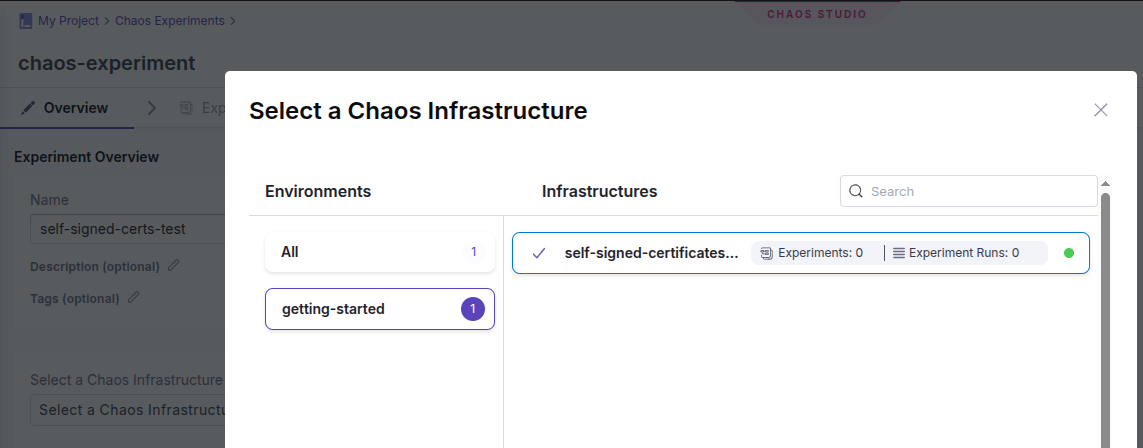
In the Litmus ChaosCenter navigate to the Chaos Experiments menu and click the + New Experiment button.
Name the test and select a Chaos Infrastructure to use:
Start off building an experiment using Blank Canvas.
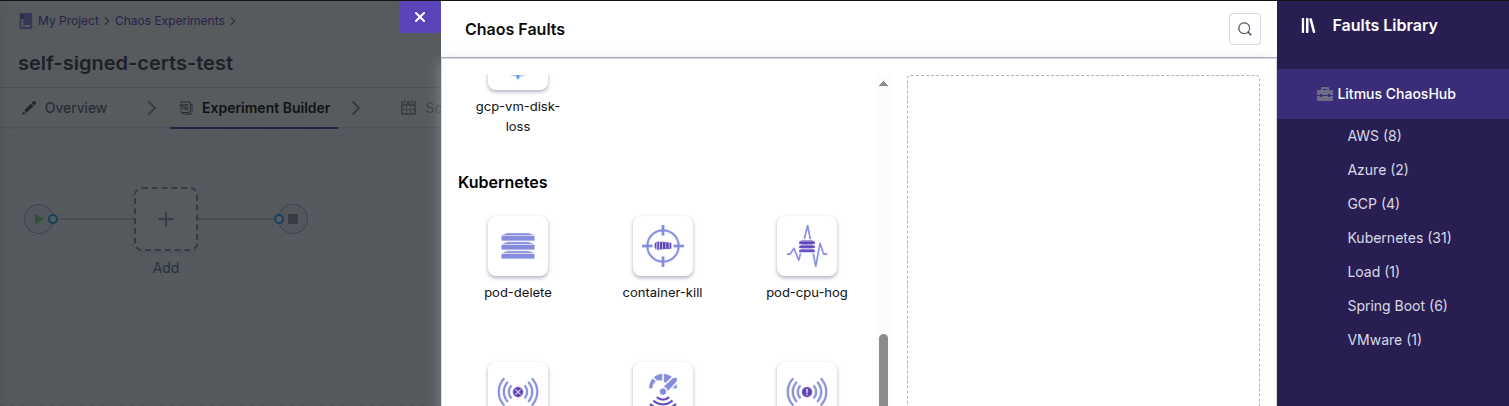
In the Experiment Builder click the Add button and add the pod-delete fault:
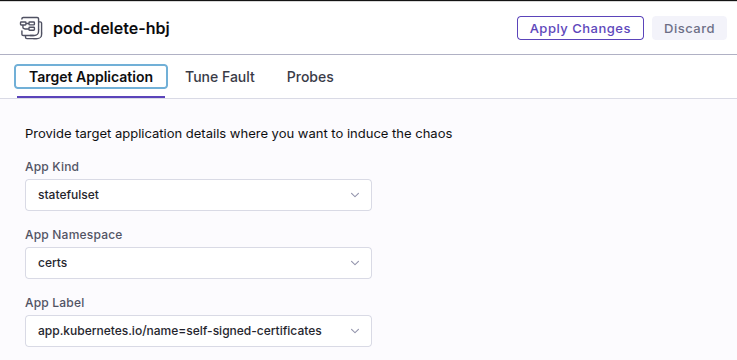
Configure the fault with the following values:
App Kind:
statefulsetApp Namespace:
self-signed-certs-testApp Label:
app.kubernetes.io/name=self-signed-certificates
In the Probes tab select the previously created pod-up-probe and confirm your choice by clicking the Add to Fault button.
Select the End of Test (EOT) probe execution mode and apply changes.
At this point your experiment should look like this:

Save your changes by clicking the Save button in the top-right corner of the screen.
Run a Chaos Experiment
Click the Run button in the top-right corner of the screen to run the Chaos Experiment:

Running the experiment should take approximately 3 minutes.
When the experiment state changes from RUNNING to COMPLETED the run is done and the result is presented:

Congratulations! You have reached the end of this tutorial. For more information about the Canonical Chaos Engineering platform please see our other documents.
7. Destroy the environment
Destroy the Terraform deployment:
terraform destroy -auto-approve
Note
Terraform does not remove anything from the working directory. If needed, please clean up the terraform directory manually.
Destroy the Juju controller and all its models:
juju kill-controller k8s --no-prompt